
Why a Balcony Garden Is a Smart Choice
Balconies are the hidden gardens of many city dwellers. With a few well‑planned steps, a small balcony can become a lush source of fresh herbs, tomatoes, peppers, and leafy greens. It saves money, boosts nutrition, and adds a splash of green to urban living.
Step 1: Pick the Perfect Spot
Start by identifying the sunniest corner. Most vegetables need at least 6 hours of direct sunlight per day. If your balcony gets less light, focus on hardy greens like spinach, lettuce, or herbs that tolerate partial shade.
Step 2: Choose the Right Containers
Container size depends on the plant's root depth. For leafy greens, 12‑inch pots are sufficient. Root‑heavy veggies like tomatoes or peppers need 18‑inch or larger pots. Consider using hanging baskets for succulents or small herbs to free up floor space.
- Material matters: Lightweight plastic or fiberglass is great for beginners, while terracotta offers a classic look but can dry out faster.
- Drainage: Always pick pots with holes. Add a layer of gravel or broken pottery at the bottom to prevent waterlogging.
Step 3: Soil and Fertilizer
Use a high‑quality potting mix specifically formulated for container plants. It should be light, well‑draining, and rich in organic matter. Mix in compost or worm castings for extra nutrients.
Feed your plants with a balanced liquid fertilizer every 2‑3 weeks. For tomatoes and peppers, a higher nitrogen feed during the vegetative stage promotes leafy growth, while a bloom‑boosting mix encourages fruiting.
Step 4: Planting Essentials
When planting, follow the seed packet's depth guidelines. Water gently after planting, ensuring the soil is moist but not saturated. For seedlings, use a gentle mist to avoid disturbing the roots.
Step 5: Watering Wisely
Container plants dry out faster than ground‑based ones. Check the soil daily; if the top inch feels dry, water. Use a watering can with a fine spout to avoid washing away the soil. Drip irrigation kits are a convenient, low‑maintenance option.
Step 6: Managing Heat and Humidity
Balcony temperatures can soar. Position taller plants to the north side to shield smaller ones. If humidity is high, place fans or use a dehumidifier on the balcony. Mulch with organic material to reduce evaporation.
Step 7: Pest Prevention and Control
Common pests include aphids, spider mites, and whiteflies. Keep a watchful eye for speckled leaves or sticky residue. Hand‑pick pests or use a gentle insecticidal soap. Introducing beneficial insects like ladybugs can help maintain balance.
Step 8: Harvesting and Rotation
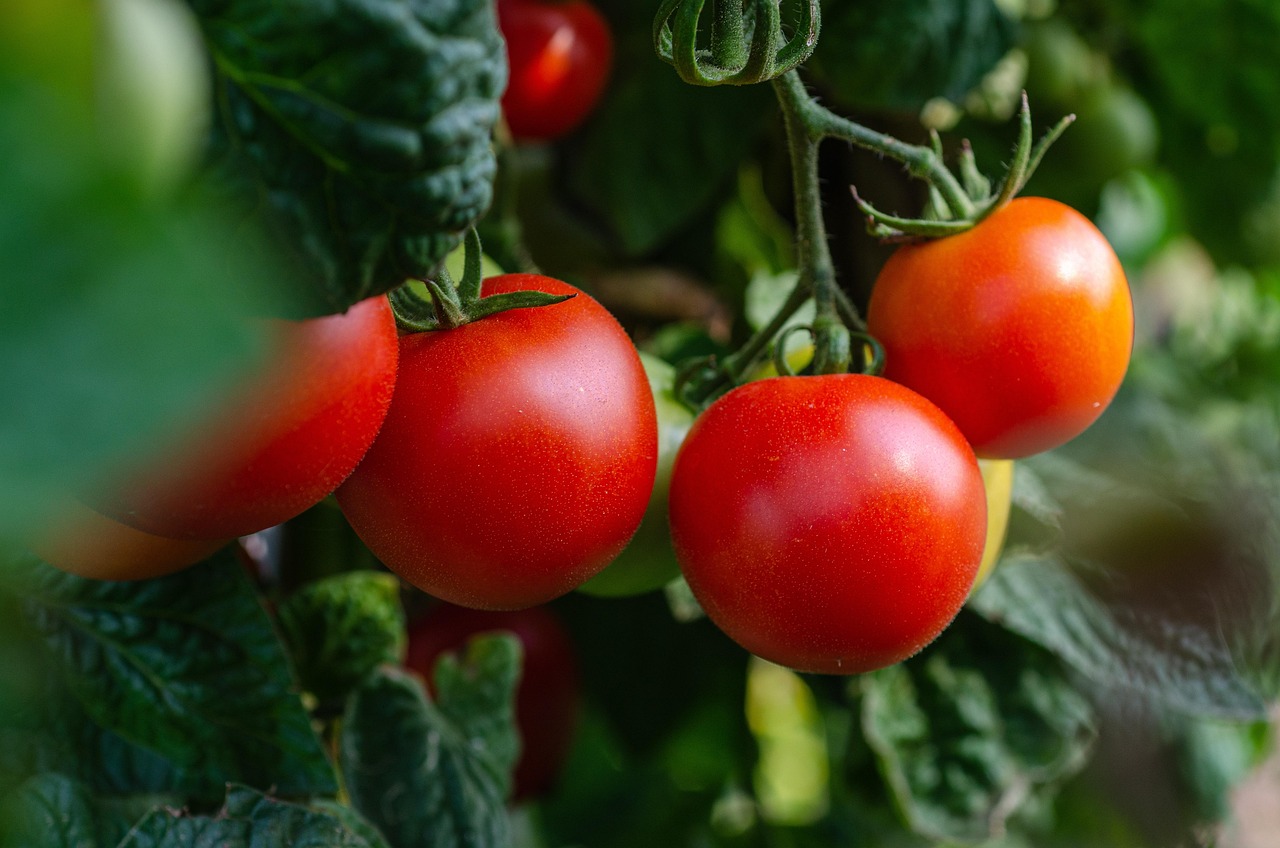
Harvest regularly to encourage continuous production. For lettuce, pick outer leaves first. For tomatoes, wait until they're fully colored and slightly soft. Rotate crops seasonally: leafy greens in spring, tomatoes in summer, and root crops in late summer.
Frequently Asked Questions
- What vegetables thrive in small containers? Leafy greens, herbs, cherry tomatoes, peppers, radishes, and strawberries do well in limited space.
- Do I need a balcony railing for hanging baskets? Yes, ensure the railing can support the weight and that the baskets have proper drainage.
- How do I protect plants from wind? Use windbreaks like a lightweight screen or place taller plants as natural barriers.
- Can I grow vegetables year‑round? With the right selection and indoor lighting, many veggies can be grown all year, especially in milder climates.
Final Thoughts: Your Balcony Garden as a Living Canvas
Transforming a balcony into a vegetable haven is more than a hobby; it's a daily reminder of nature's bounty. With thoughtful planning, the right containers, and a dash of love, your small balcony can yield a garden that's both productive and picturesque.